You’ll need the following to screw the wall panel:
- Saw – circular saw or traditional hand saw. Or you can order this custom cut to size when ordering your product.
Or use a screwdriver. - Screws for fixing the panels to the wall.
- Dowels for walls or drywall dowels for drywall.
- Black plasterboard screws, approx. 30 mm, for fixing acoustic panels.
- Optional: small screws, approx. 15 mm, for fixing slats when cutting panels.
- Tape measure or ruler.
- Pencil.

Step 1: Preparing the wall
Start by preparing the wall. Wipe the wall with a cloth and remove screws, nails and other obstructions to make the wall completely smooth. Next, measure and mark where you will mount the panels.
Step 2: Cutting the Wall Acoustic Panels to the Right Height
Once you’ve measured your wall, you’ll know if the panels need to be cut to the right height. Unless you order the wall panels already cut to size.
If you need to adjust the height of the panel, you can cut the panel using a circular saw or a normal saw.
Mark the line of the saw on the panel with a pencil to make a straight cut.
- It’s worth putting a guide rail next to the line to make the cut as smooth and straight as possible.
- After the cut, it is a good idea to gently drag the edge of the wood with 220 sandpaper to smooth out the resulting line and unevenness from sawing.
- Remember to screw in the slats after sawing.
- After sawing the panel, it is advisable to screw the ends of the slats back into the slats (through the felt) from the back using screws about 15 mm long. Otherwise the slats may stick out.
- Repeat this for each batten.
- Do not use a longer screw under any circumstances, as the screw will then drive through the front of the slats.
Step 3: Installing the wall panels
Fix the wooden acoustic panels to the wall by screwing the black plasterboard screws (35 mm) through the black acoustic felt into the wall (or if you used dowels, screw them in).
We recommend 15 screws per panel.
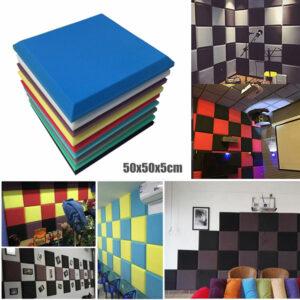
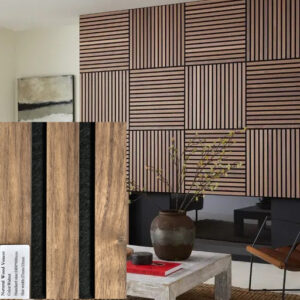
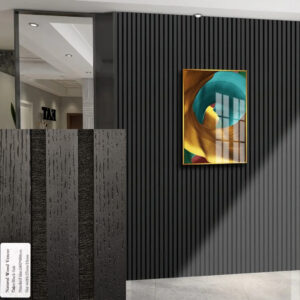
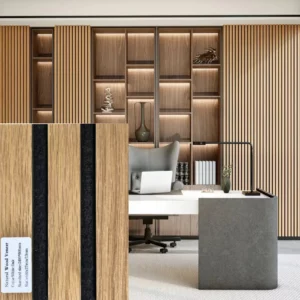
Acoustic panels have a felt side and a grid side.
The sides of the acoustic panels fit together so that the joints themselves are hidden behind the slats of the previous panel.
When assembling the panels, press the panels together (felt side to batten side) until a gap of 13 mm is left between the battens at the joint. DO NOT press the panels together completely. To maintain proper spacing, you can remove a batten from a colour sample and place it between the two panels as shown in the video below.
Step 4: Saw the wall panels to the right width.
- When you get to the end of the wall, you may need to cut the panels at the width.
- You can adjust the width of the panels by cutting the felt with a knife.
- Then screw the last part of the panel to the wall – again with black drywall screws through the felt.
- You can cut the felt with a scalpel, along with a ruler, using a sharp knife.
Wall mounting with adhesive:
Tools required:
- Glue gun.
- Tube of glue (approx. ½ tube per panel).
- Tape measure.
- Pencil.
- Paper towel to remove excess.
- Dust cloth for cleaning the walls
Installation of Wood Acoustic Panels with Adhesive
Start by cutting the top off the glue tube and inserting it into the glue gun. Then spread the adhesive evenly over the felt on the back of the panel.
Now you are ready to install the panels. Place the panel against the wall in the marked area of the wall. Press the panel against the wall over the entire surface to ensure that the adhesive is well distributed and adheres. The adhesive can hold the panel to the wall after 20-30 seconds. Check that the panel is installed straight using a spirit level on the go.
If the panel wants to come away from the wall before the adhesive has set, you may want to prop it up. In this case, the problem arises that there is not enough adhesive on the back of the panel and therefore the panel cannot stay in place properly.