Cheapest acoustic ideas for designing a beginner studio
Anyone who gives their head to building a home studio should know that this is not a simple process and a lot depends on the design. Often the solution lies there before our eyes, yet many times we tend to complicate things.
Let’s start with the basics
First of all, we need to clarify what kind of equipment we have available to purchase. It is also important that we make good use of the space available to us. Overcrowding with all kinds of unnecessary accessories can hinder your work later on. Then let’s take a look at what tools we will need. Studio building is practically an infinitely extendable process.
Once we have the funds, it is up to us how and for how long we want to go about enlargement. We can slowly replace old things with newer, more modern, more expensive products that make our job easier and at the same time result in better quality.
-


-
 Sound traps with diffuser- If a good look is important146 € – 155 € +Vat
 -
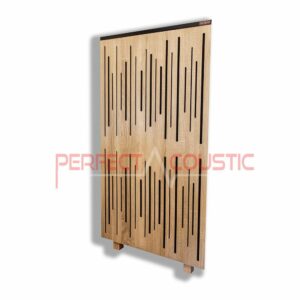
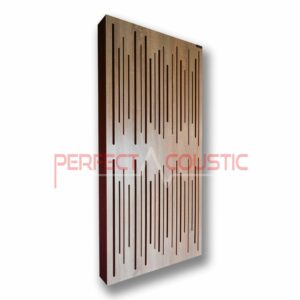
 Flexi acoustic panel with adjustable wooden slats194 € – 287 € +Vat


But how much is that?
The lower limit is easier to draw than the upper one, as it practically extends to the starry sky and beyond. The necessary equipment for a cheap but good home studio can be obtained from roughly 280-300 thousand HUF. If we are at home on the subject, we can buy good quality used tools at a reasonable price, which we can replace later according to our needs and possibilities. This amount may seem like a lot at first, but the cost of setting up professional studios is exponentially higher. But we can also look at the fact that the amount mentioned above is no more than the price of a good smartphone, so in return, we can throw together a whole jaw home studio.
What will be needed for the job?
It may not be surprising, but the whole soul is given by a powerful computer. The good thing about this is that most of us already have such a machine at our disposal, so it’s not necessarily an extra investment. Mac or PC? It doesn’t matter at all, as it’s by no means a determining factor in the birth of world-class creations.
The DAW (digital audio workstation) is also an indispensable tool from which it is worth choosing the one that is most obvious to handle. It’s useless for professional stuff if we can’t take advantage of its potential. By the way, the Cubase or an order of magnitude more expensive ProTools was in the background.
Although our computer has a sound card, it will by no means meet our needs as its capabilities are quite limited. It also makes for a cheaper USB interface which e.g. has a microphone preamp, phantom power, jack, XLR input, and of course a stereo output. And you can’t miss the headphone output either.
The good news is that with the development of technology, the price of a studio microphone has dropped significantly. In exchange for HUF 30-40 thousand, we can already obtain quality versions.
In addition, you will need headphones or monitor speakers, as you will need to listen to the finished piece. In terms of mixing, it doesn’t matter which one we use, as it’s worth listening to the result elsewhere (in a car, on a hi-fi, a familiar piece of audio, etc.) because that’s the only way to get a comprehensive picture of how it sounds.
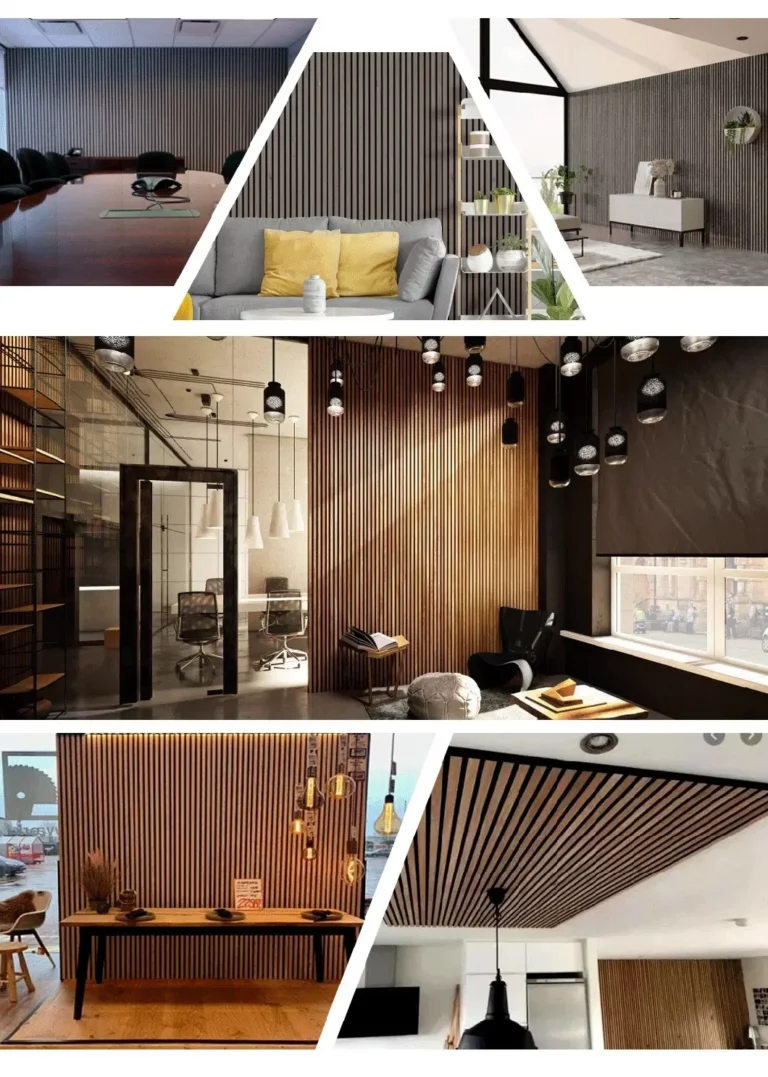
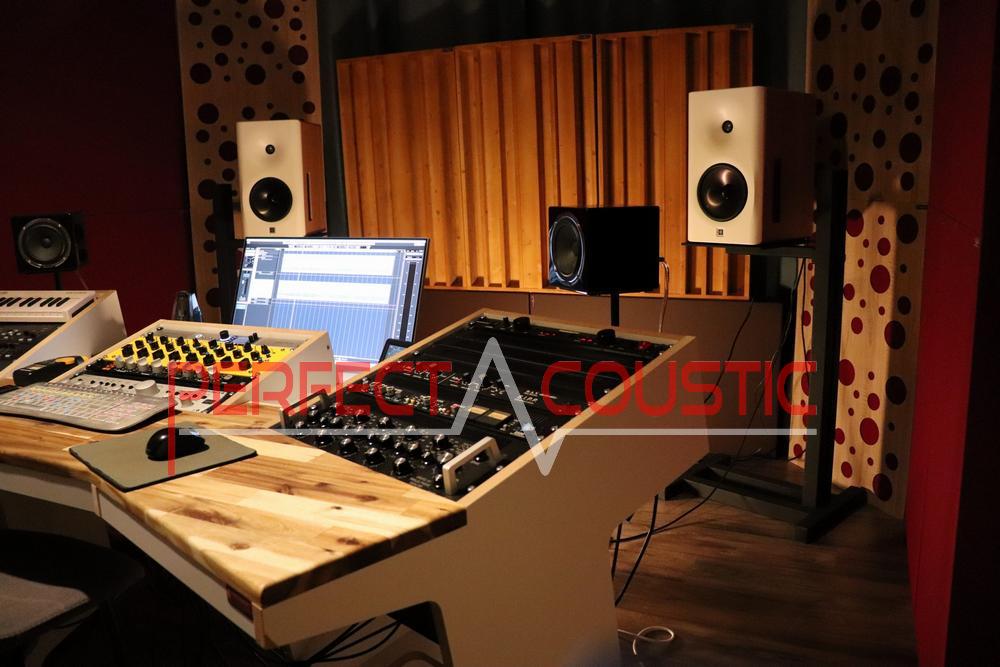
… And here we arrived at another essential point of home studio furnishings. There has already been talking of devices, but what should the environment look like?
-
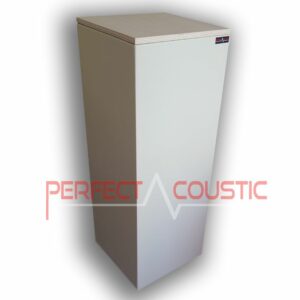
 Giga bass panel with membrane94 € – 129 € +Vat
 -
 Bass acoustic wall panels with double leather membrane83 € – 260 € +Vat
 -
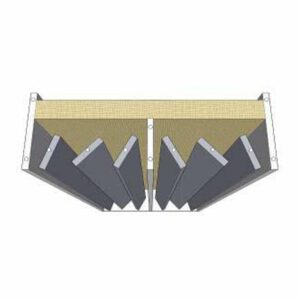
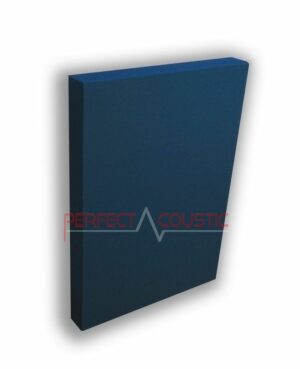
Absorption panels with diffuser-Two in one62 € – 296 € +Vat


The point is acoustics!
Because in vain is an expensive instrument and quality equipment if the acoustics of the room are poor. No matter how much we sacrifice for it, even a million voices will sound bad.
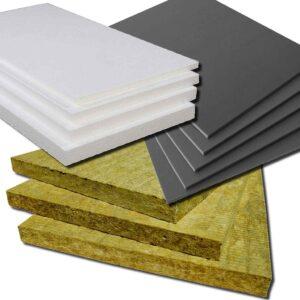
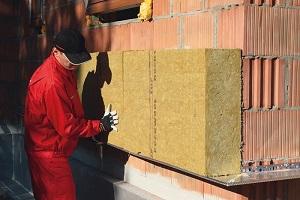
We will need materials that we can place to prevent the spread of unwanted sounds. It should be emphasized that thermal insulation should not be confused with sound insulation.
Here comes the cheapest acoustic solutions!
DIY solutions are extremely cost-effective in this case. For example, wall-mounted panels can be made of rock wool, for which we can use a wooden and metal frame. Of course, we can get them ready-made, but in this case, we have to reckon with higher costs.
We should not stop there, because we still have a lot to choose from in terms of sound-absorbing products. Such e.g. the acoustic curtain or rug. They do not reflect but absorb sound due to the high-density textile. The denser and heavier the material, the more sound it can absorb. Using them can significantly reduce echo, which confuses sound levels and degrades sound clarity. Cheaper solutions include stacking a large pile of clothes in the corners. The dress has a high specific gravity.
But you can also use pressed cardboard. Not hollow. We put a bookshelf full of books in the reflection points. If possible, spread a blanket on the door. Do not place carpets on the walls under any circumstances! We push the speakers as far as possible against the wall. The sense of space may be reduced, but the sound pressure value will be significantly reduced. This will make the sound recording smoother.
-
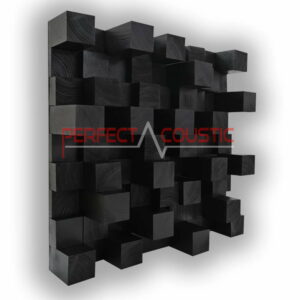
Skyline diffusers 60x60x14cm118 € +Vat
-
Decorative acoustic panels (corner bass)175 € +Vat
-
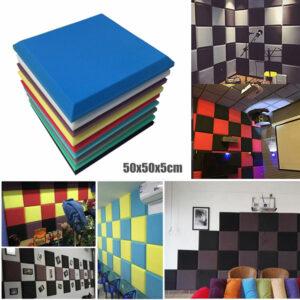
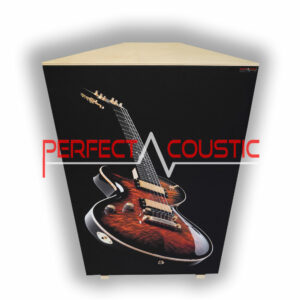
 Wall art panels87 € – 183 € +Vat


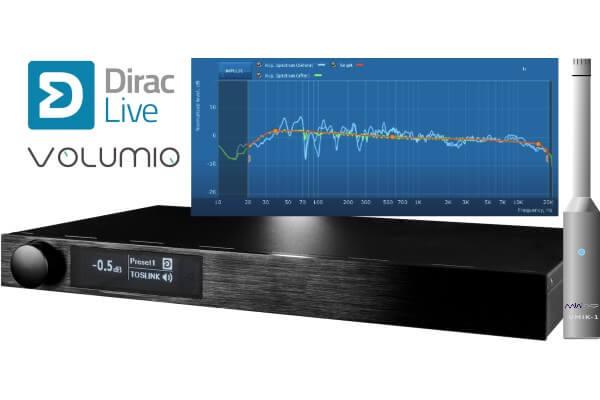
The final step is an acoustic measurement
In the absence of professional measuring instruments, we could rely on our ears, but this is not the best solution, because everyone’s hearing is subjective. If possible, use any microphone for objective measurement. Free software for measuring and correcting can be found on the Internet. Pl REW room EQ.
A specialist will, of course, take measurements at all points in the room and the sound-absorbing elements will be placed accordingly. We, on the other hand, can be quite happy to shape the environment so that the sound is right at the point where we are sitting while mixing.
Before sacrificing all our money for our home studio, keep in mind that music is not about expensive instruments and equipment, as much more depends on your imagination and creativity in terms of the result. SzG